
Electric Power Tools

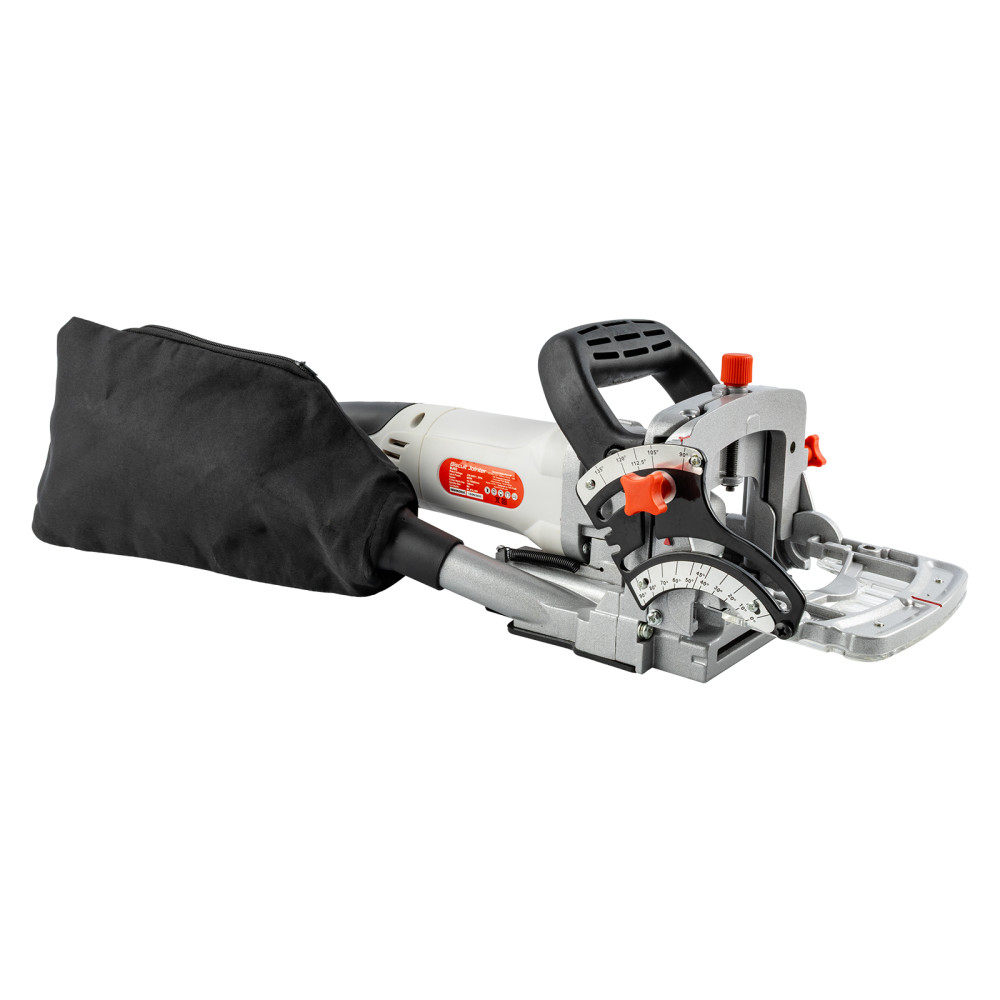
Biscuit Joiner 900w 11000rpm
SKU: BJ02
| EAN: 6009515806071
In Stock
Note: Sold as: Each
R 1,524.90
incl VAT
- Max RPM: 11000
- Max Blade Diameter: 100mm
- Bore diameter: 22mm
- Spindle thread: M6
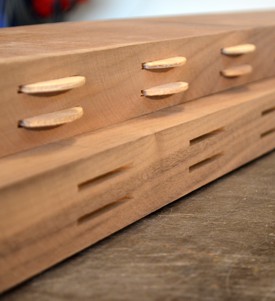
A biscuit joiner is a woodworking tool used to join two pieces of wood together. It uses a small circular saw blade to cut a crescent-shaped hole in the opposite edges of two pieces of wood or wood composite panels.
Tags:


